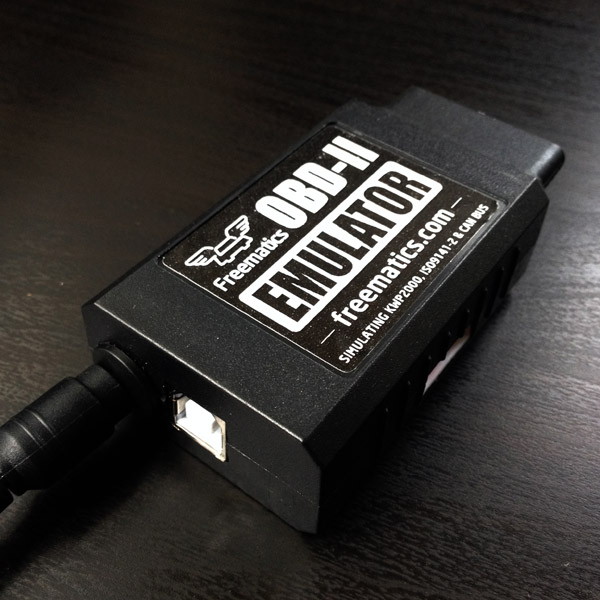
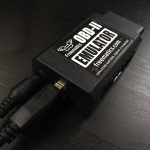
Freematics OBD-II Emulator MK2 is world’s smallest OBD-II emulator with KWP2000, ISO9141 and CAN bus simulation. It provides an 16-pin female OBD-II port which is identical to that of a real car and responds to requests for standard OBD-II PIDs from plugged-in OBD-II compliant device. It emulates up to 6 active vehicle diagnostic trouble code (DTC) as if a real car has when encountering a component malfunction or fault. Request for VIN is also responded and the VIN can be altered.
The emulator connects to PC via USB cable and is operated via an easy-to-use software GUI. Secondary development is possible with serial TTL connector available for connection of interaction with Arduino or other embedded system with source of data (e.g. sensors).
Freematics OBD-II Emulator is practically useful and cost effective for OBD-II related application development on desk. Once extended with external data source, it can even be used to provide an OBD-II port for vehicles that don’t have a real one and thus existing OBD-II device/software can also work with the vehicle.
The emulator is controlled by GUI software via USB interface. The BLE enabled version provides additional wireless control by iOS device (iPad/iPhone) with our Freematics Emulator App.
Hardware Features
- Standard 16-pin OBD-II female port (powered)
- Simulating vehicle data bus (CAN, KWP2000, ISO9141-2, J1850 PWM, J1850 VPW)
- Simulating OBD-II Mode 01 PIDs (0100-0163)
- Simulating OBD-II DTC (mode 03/07/0A, up to 6 active DTCs)
- Simulating OBD-II readiness monitors
- Simulating VIN data (Mode 09)
- Control by GUI software (via USB), iOS App (via BLE) or programmatically (via serial UART or USB)
- Firmware upgradeable
Following protocols are simulated:
- CAN/ISO15765 500Kbps/11bit
- CAN/ISO15765 250Kbps/11bit
- CAN/ISO15765 500Kbps/29bit
- CAN/ISO15765 250Kbps/29bit
- ISO9141-2
- KWP2000/ISO14230 Fast
- KWP2000/ISO14230 5Kbps
- J1850 VPW (optional)
- J1850 PWM (optional)
The emulator has following interfaces on its enclosure:
- 16-pin female OBD-II port
- DC 12V input
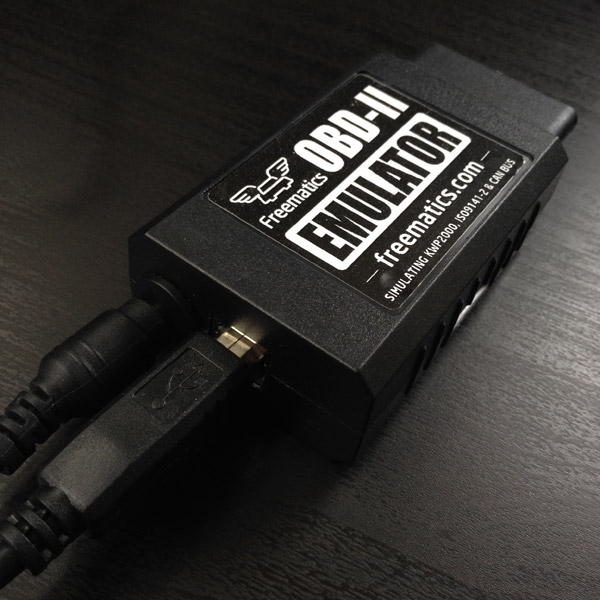
- USB port
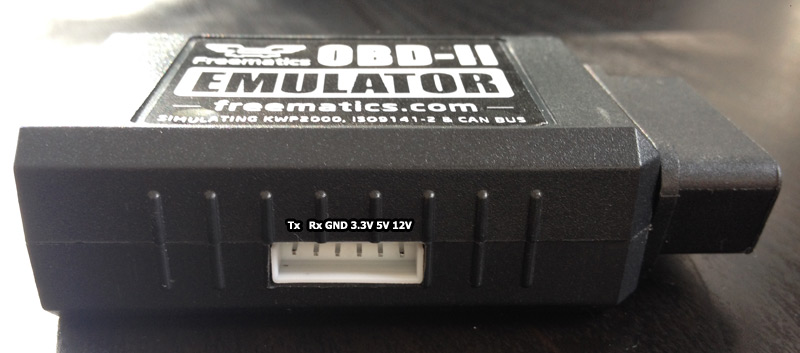
- 6-pin XH-2.54 socket (Tx/Rx/GND/3.3V/5V/12V)
The 6-pin XH-2.54 socket provides an interface for serial TTL connection as well as DC power supply of 3 different voltages. This makes it possible for a micro-controller board like Arduino to control the emulator with some source of data (e.g. sensors). Please be very cautious that 12V is present in the 6-pin socket and if you apply 12V (or slightly higher) voltage to the emulator, never let it go to any wrong pins. Otherwise, the device will be damaged as all other 5-pins strictly prohibit 12V voltage.
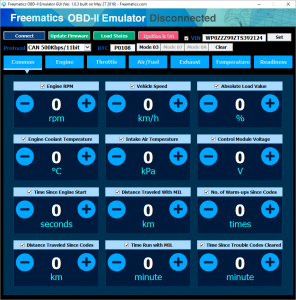
Software GUI
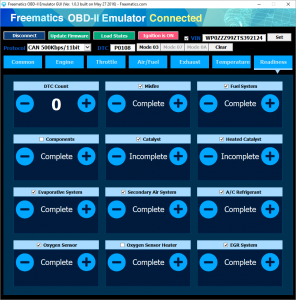
GUI software is provided for adjusting OBD-II PIDs, DTC and VIN through a Windows PC (MAC and Linux version soon). The software can be downloaded here. Please extract the downloaded compressed file and run FreematicsEmulator.exe to launch the GUI.
New features are added and new versions are released on monthly basis to extend and maximize the capacity of the emulator hardware.
iOS App
The emulator can be controlled and configured through BLE (Bluetooth Low Energy) by Freematics Emulator App available in App Store.
Getting Started
To start using the emulator, following these steps:
1. Connect DC 12V power adapter to the emulator

The emulator requires DC 12V power supply. Any DC 12V (minimum 1A) power adapter with 5.5/2.1mm connector can be used. The DC input socket is located beside the USB port.
2. Plug in USB cable and connect to PC
Driver is automatically installed on Windows 7/8. For Windows XP, please download the driver from here.
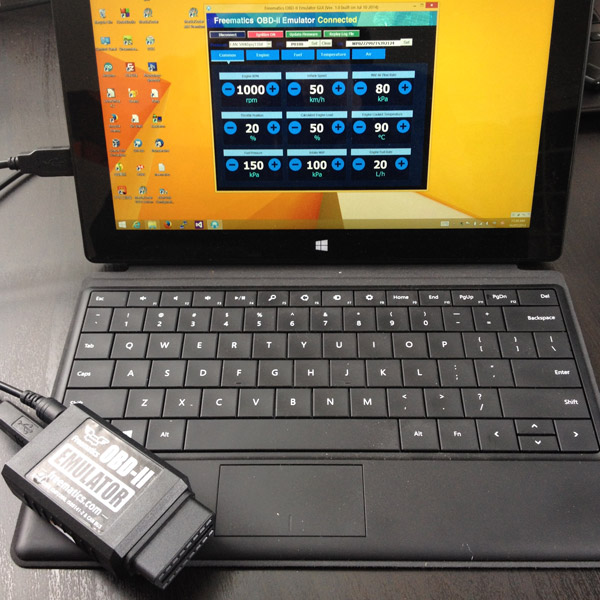
3. Open Freematics OBD-II Emulator GUI software and connect with the emulator

Plug in the emulator and run FreematicsEmulator.exe to launch the GUI software. Click Connect button and the software will attempt to connect with the emulator. Once connected, the Connect button will turn into Disconnect.
4. Plug in your OBD-II device (with OBD-II male connector) into emulator’s OBD-II female port

Your OBD-II device should then work as if plugged in the OBD-II port of a real car. You can use the GUI to change the value of OBD-II PIDs, set diagnostic trouble code (DTC) and VIN.
To start using the emulator (with BLE option) with Freematics Emulator App, following these steps:
1. Connect DC 12V power adapter to the emulator
The emulator requires DC 12V power supply. The DC input socket is located beside the USB port.
2. Install Freematics Emulator App
Search Freematics Emulator from App Store and install it on your iPad. Yes it’s free.
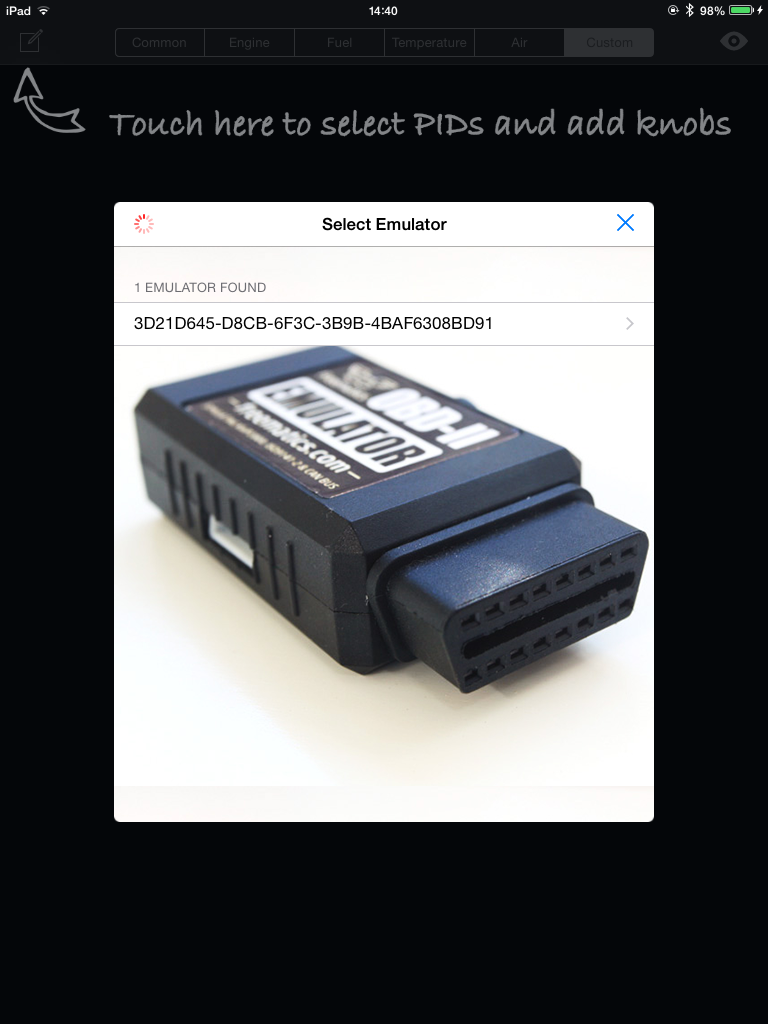
3. Search and connect the emulator
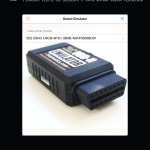
Click the search icon on top-right and the App will search for nearby Freematics OBD-II Emulator through BLE. The found emulators will be listed. Tap on one (or the only one) to connect.
4. Plug in your OBD-II device
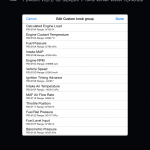
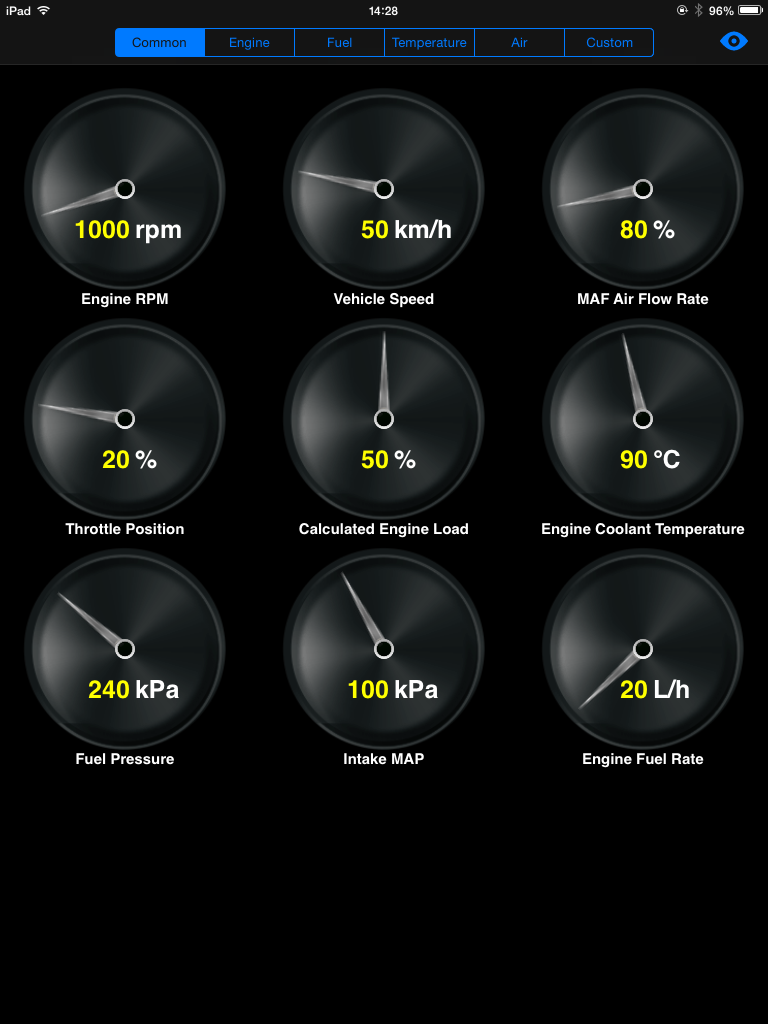
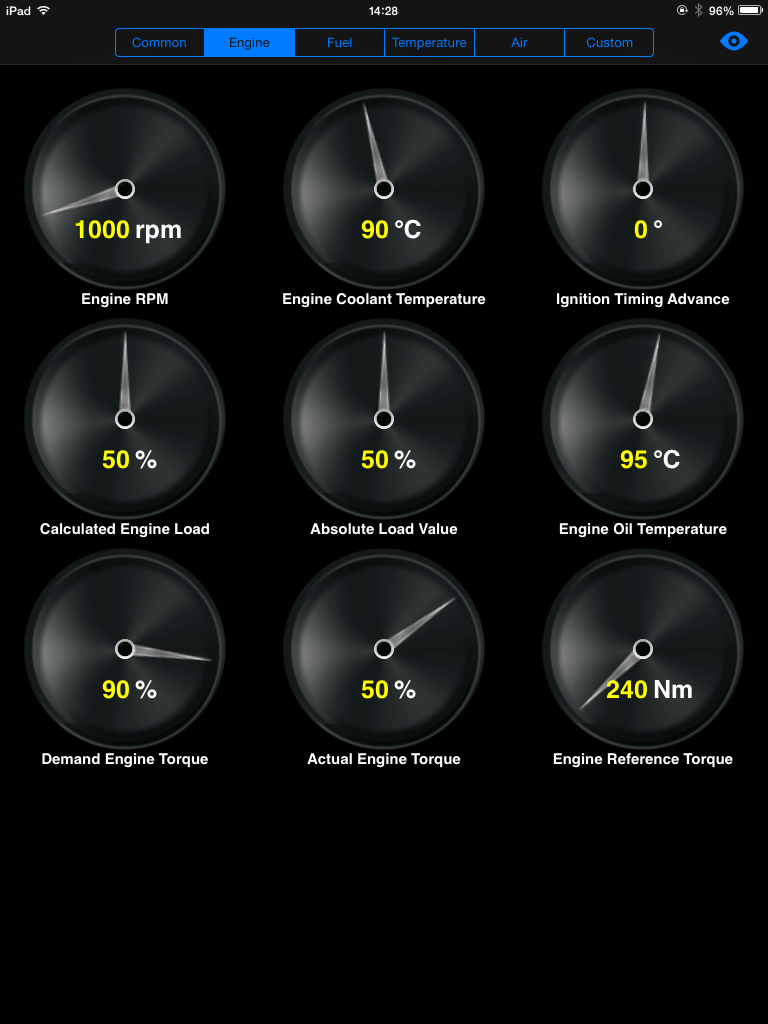
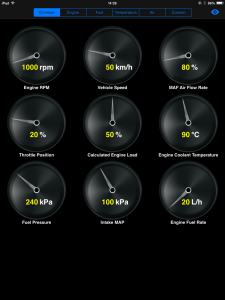
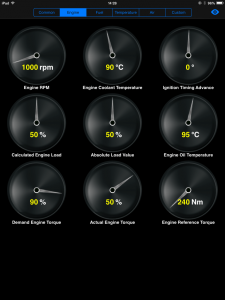
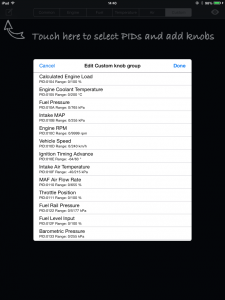
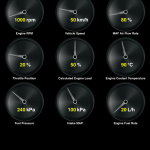
Once connected, you will be able to use your iPad’s touch screen to adjust the value of PIDs and configure the emulator. The custom tab allows you to add any supported OBD-II PIDs to the screen as a knob. This is done by tapping the top-left icon and choose the PIDs from the list.
Serial Control Interface
The communication between the emulator and the host device (PC or any other devices) is done by AT command-set. The GUI is also implemented on the command-set. So if you want to develop your own GUI or host device, it's not difficult at all. For more information about the command-set, please see here.
Power Supply
The emulator is powered by a DC 12V power adapter (5.5/2.1mm connector, center positive). The stock power adapter is rated at 1000mA maximum which is enough for emulator itself and most common OBD-II devices plugged in. If you need to use power consuming OBD-II devices (e.g. some old WIFI dongles), it is recommended to have a DC power supply with higher current rating. The emulator accepts DC input up to 30V.
If you need the stock power adapter, please make sure to choose one type in the Available Options on the top of this page before placing your order, otherwise order will be shipped without power adapter.
Parts List
- Freematics OBD-II Emulator MK2 x 1
- USB Cable x 1
- DC 12V/1A Power Adapter (5.5/2.1mm) x 1 (Optional)
Links